You’ll find this lab tutorial here: :octocat: [https://github.com/docker-training/cse-labs/blob/master/writing-tutorials.md]
New Features for Labs!
- Import a file from local computer.
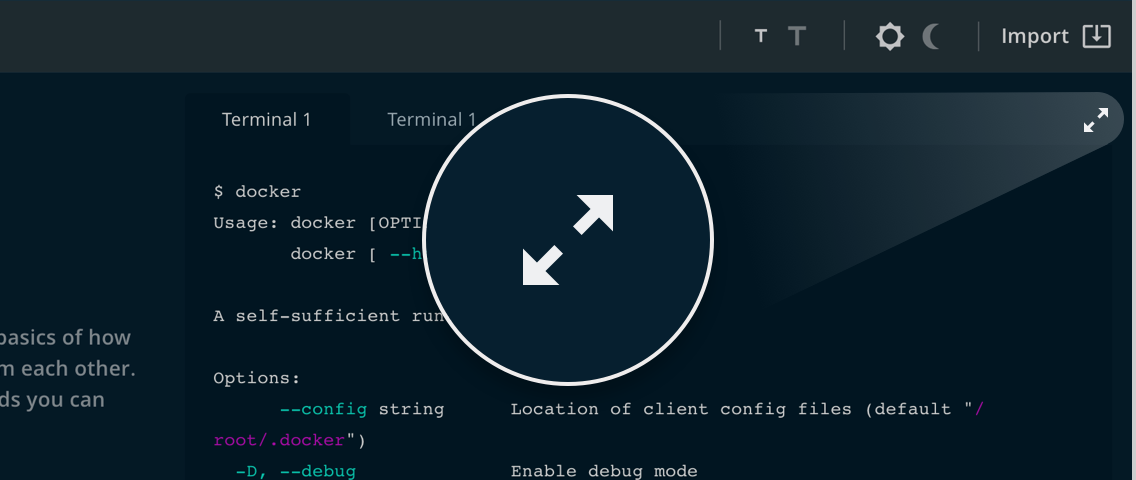
- Dark mode.
- 2 Font size options.
- Expand-compress terminal.
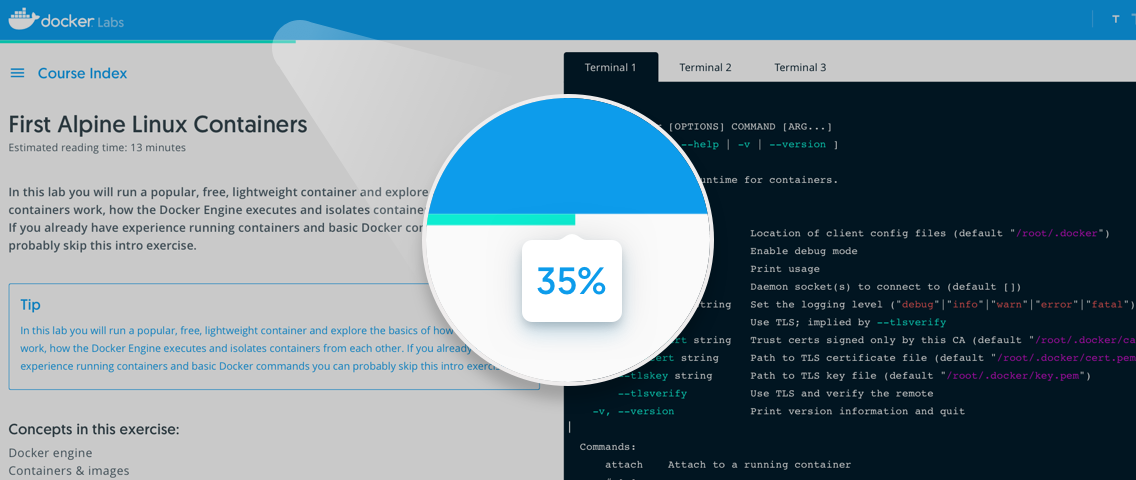
- Progress bar (scroll related)
- Onboarding for new users.
- 2 feedback options; report an issue or ask for help on the course forum.
- Quiz optimization and report for trainers.
- New metrics.
- Share option for facebook, linkedin and twitter.
:neckbeard:
Don’t forget to use YAML Front Matter! Amount of characters for sections is important, use only 24 or the index will break :(
Don’t forget adding your final quiz, in order to get your monthly review. Also, you can check the forum, so you`ll see which are the most frequent questions.
1. Setting up the local environment
Go to the proyect folder cd cse-labs. Clone the repo and lift up the environment with docker-compose up -d. Once the environment is up, point your browser to http://localhost:4000/ and the site should be running.
2. Writing Labs
This document shows how to write a lab for Docker Labs (http://labs.docker.com/) platform. For more information about the markdown syntax reference check this site https://kramdown.gettalong.org/quickref.html Docker runs on Jekyll.
The content order to write your lab is:
- YAML Front Matter
- Lab Introduction
- Section “1” (title)
- Section “1” (content)
- Section “n” (title) Add as many sections as you need for your lab.
- Section “n” (content)
- Quiz [see below]
2.1. File Naming
Docker Labs follows the Jeykll post naming convention. To start, open the folder cse-labs created in step 1. Place a new document in Markdown in the /_posts directory with the following naming convention:
YEAR-MONTH-DAY-title.markdown
2.2. Images
Any supporting images should be placed in the /images directory and referenced with ../images/.
2.3. YAML Front Matter
Each lab starts with a YAML Front Matter block. This tells the site information it needs to render the lab correctly. You do not need to know about Jekyll or the SDK to write a lab, though. Just make sure that you start a lab with the following text block:
---
layout: post
title:  "Title of Your Awesome New lab"
date:   YYYY-MM-DD
author: "@your-github-user-name"
tags: [see tags below]
categories: see categories below
estimated_time_to_finish: "30 minutes"
image: "docker/labs:dind"
terms: 1
toc: "true"
---
Only terms is optional, as it defaults to 1.
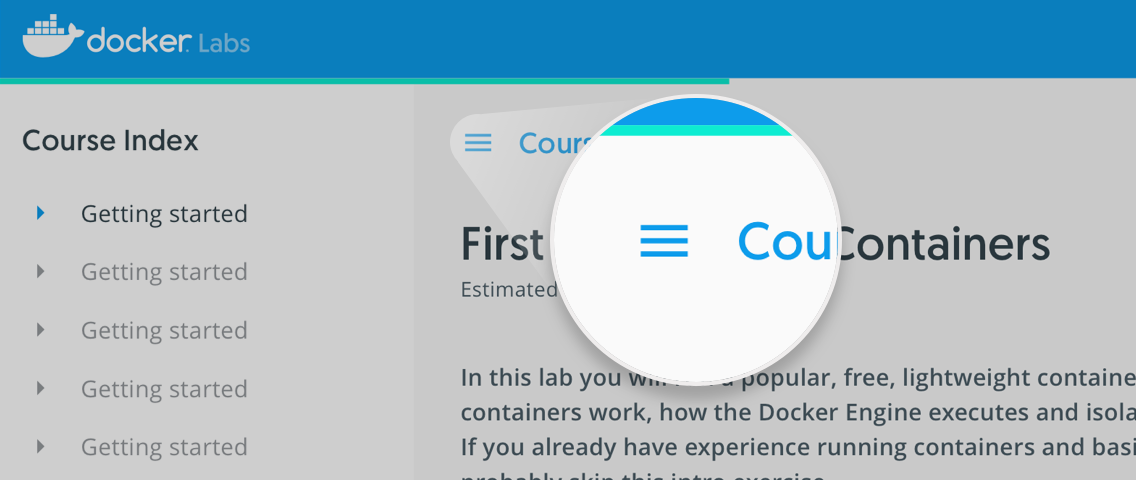
layout: for layout, always useposttitle: the title that will head the labdate: must match the date used in the file nameauthor: use your name heretags: must be an array, such as[linux, operations, webapp]. This will be used by Docker Labs to populate list of tutorials the front page. Always use lower-case.categories: choose one of:beginner,intermediate,advanced,community. This will be used to place the post in the list of tutorials on the front page. Always use lower-case.terms: an integer between 0 and 5. This is the number of terminal windows on the tutorial page. This will default to1if you don’t specify it. If you specify0, there won’t be any terminals.0should only be used if you are giving overview content with no interactivity, or describing a hands-on tutorial that has to run on the reader’s local machine or in a VM.image: The image to use for this lab. If not specified, it will fallback to the default image of the platform. important: The images need to be whitelisted in Docker labs servers in order to be used here.toc: Creates lab index.
2.4. Formatting
Formatting is standard Markdown. Be aware that if you have one or more terminals, half the page will be taken up with the terminal windows. This is adjustable by the user but you should write as if it won’t be shifted. Take a look at the beginner linux tutorial https://labs.docker.com/beginner-linux/ to see what it looks like.
You shouldn’t need to use any CSS in your tutorials or change any of the CSS in the /css directory.


This is an example quote block
$ docker ps # this is an example bash block
2.5. Writing the quiz
All the Labs should have a final quiz. We will track answers and send you a monthly report. The quiz tracks how many users finish the lab and helps to estimate an average time.
Tips:
- Create a 3 questions quiz maximum / 2 questions minumum
- Only use multiple choice questions.
- Specify if more than one option is require.
- The correct answer should have an “x”
{:.quiz}
Here your question 1? _Select only one option_
- (x) Option 1
- ( ) Option 2
- ( ) Option 3

{:.quiz}
Here your question 2? _Select more than one option_
- [x] Option 1
- [x] Option 2
- [ ] Option 3
- [ ] Option 4
- [x] Option 5
2.6. Auto populating code in the terminal
The Docker Labs SDK allows us to auto populate code into the terminal. Code blocks are specified with triple backticks ` ``` ` on each end. With the addition of a .termN after the open set of backticks, you can direct that code block to a specific terminal. For instance, to run code in the first terminal, you would add .term1. For instance:
````.term1
docker swarm init --advertise-addr $(hostname -i)
````
You can write multiple lines or just one. They will subsequently be added to the terminal. If you do not specify termN clicking on the code block will not cause it to be placed in the terminal. This is useful if you want to show example code that someone would copy and paste into a file before running.
2.7. Linking to apps that run in a terminal
Any apps that run in a terminal and expose a port can be discovered for linking purposes. The pattern is:
[linktext](/){:data-term=".termN"}{:data-port="XXXX"}
For instance, if you wanted to link to a web server running in terminal 2 at port 8080, you would use:
[webserver](/){:data-term=".term2"}{:data-port="8080"}
This is necessary because when you write the post you won’t know in advance what the base URL of an individual session will be on Docker Labs. That will produce a URL such as this:
http://pwd10-0-117-3-8080.host2.labs.docker.com/
When you are ready, submit your PR against this repository. The Docker Labs team will evaluate it before merging it, and may require changes or close the PR at their discretion.
3. Troubleshouting
I can’t access my post after creating the markdown file in the /post folder. Try running
docker-compose restartand refresh your browser.
You are ready to write your Lab ;) Thanks for reading this tutorial!